Logos
We show some logos and book covers designed
using the software package prism (© Michael Field, 1996).
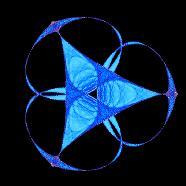
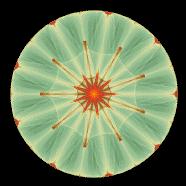
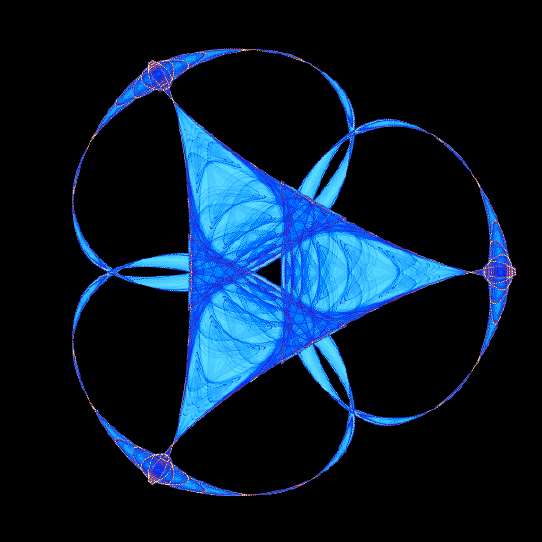
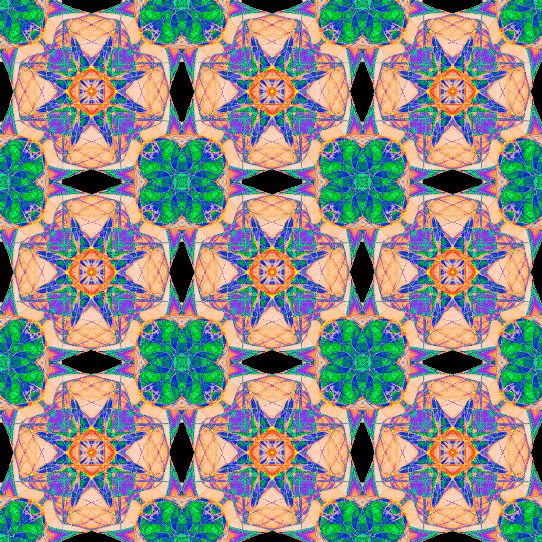
Front cover of the proceedings of the 1990
Australian Academy of Science Symposium
on `The Role of Mathematics in Science'. (A colored version of this image,
called Kachina Dolls,
appears in Symmetry in Chaos.)
 [29K]
[29K]
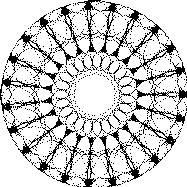
IMA Logo. This image has been
used as a logo by the
Institute for
Mathematics and its Applications, University of Minnesota.
The image was originally discovered by
Jim Richardson',
Systems Analyst,
University of Sydney, Australia. For further investigation
of this logo, click on IMA logo.
 [79K]
[79K]
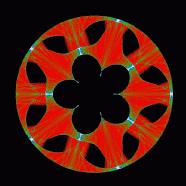
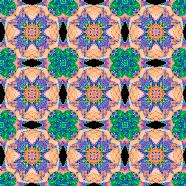
Front cover of an Oxford University Press text book
Mathematics for GNVQ+GCSE by
Buchanan and Gaulter, 1998.
The image is similar to Gothic Medallion (see
Figure 3.4(b), Symmetry in Chaos).
 [53K]
[53K]
Front cover of Physical Chemistry by
P W Atkins, OUP (1994). The image is based on
Fractured Symmetries (Figure 6.5,
Symmetry in Chaos).
 [416K]
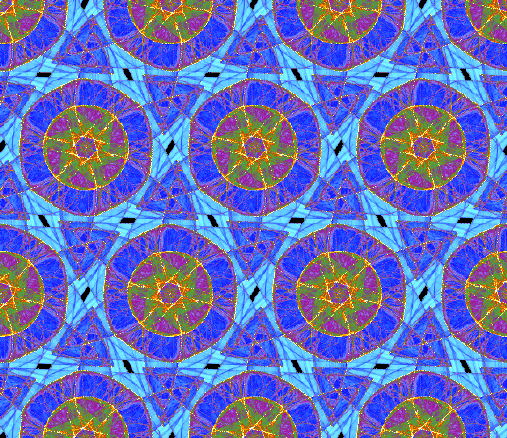
Front cover of Inorganic Chemistry by
D F Shriver, P W Atkins and C H Langford, OUP (1994). The image is based on
Marching Troupe (see Figure D.9, Symmetry in Chaos).
 [266K]
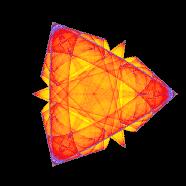
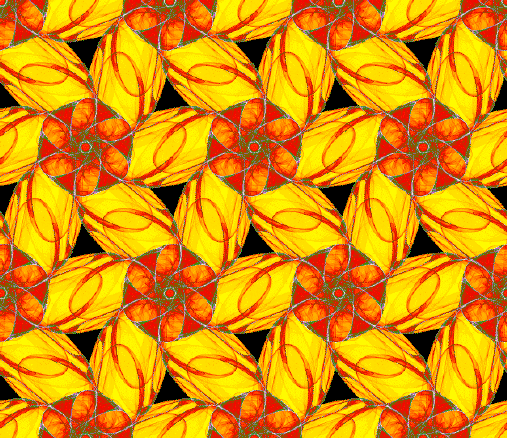
Front cover of Contemorary Abstract Algebra by
Joseph A Gallian, Heath & Co (1994). The image is based on
Lace by Nine (see Figure 2.5,
Symmetry in Chaos).
 [117K]
Image used for front cover of Contemorary Abstract Algebra,
fourth edition by
Joseph A Gallian, Houghton-Mifflin (1998). The image is based on
Victorian Tiles (see Figure 3.23,
Symmetry in Chaos).
 [337K]
Front cover of Precalculus by
David Cohen, West Pub. Co (1993). The image is based on
Golden Flintstone (see Figure 5.5,
Symmetry in Chaos).
 [91K]
[91K]
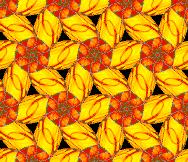
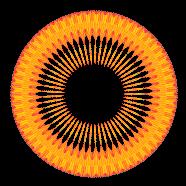
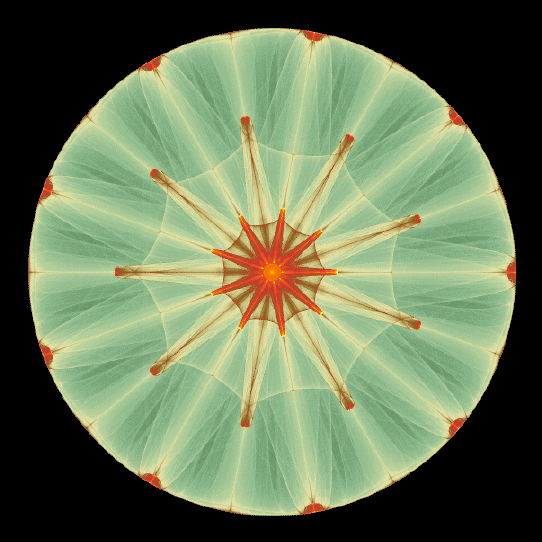
The next image Sunflower
was used for the front cover of Symmetry in Chaos as well
as the front cover of
Precalculus, by Michael Sullivan and Michael Sullivan III,
Prentice-Hall (1998).
 [144K]
Please note that all images shown on this page are ©
Michael Field, and may not be reproduced without my
written permission.
Gallery.
FAQ.
Return to Mike Field's home page.
 [79K]
[79K]
 [53K]
[53K]
 [416K]
 [266K]
 [117K]
 [337K]
 [91K]
[91K]
 [144K]